
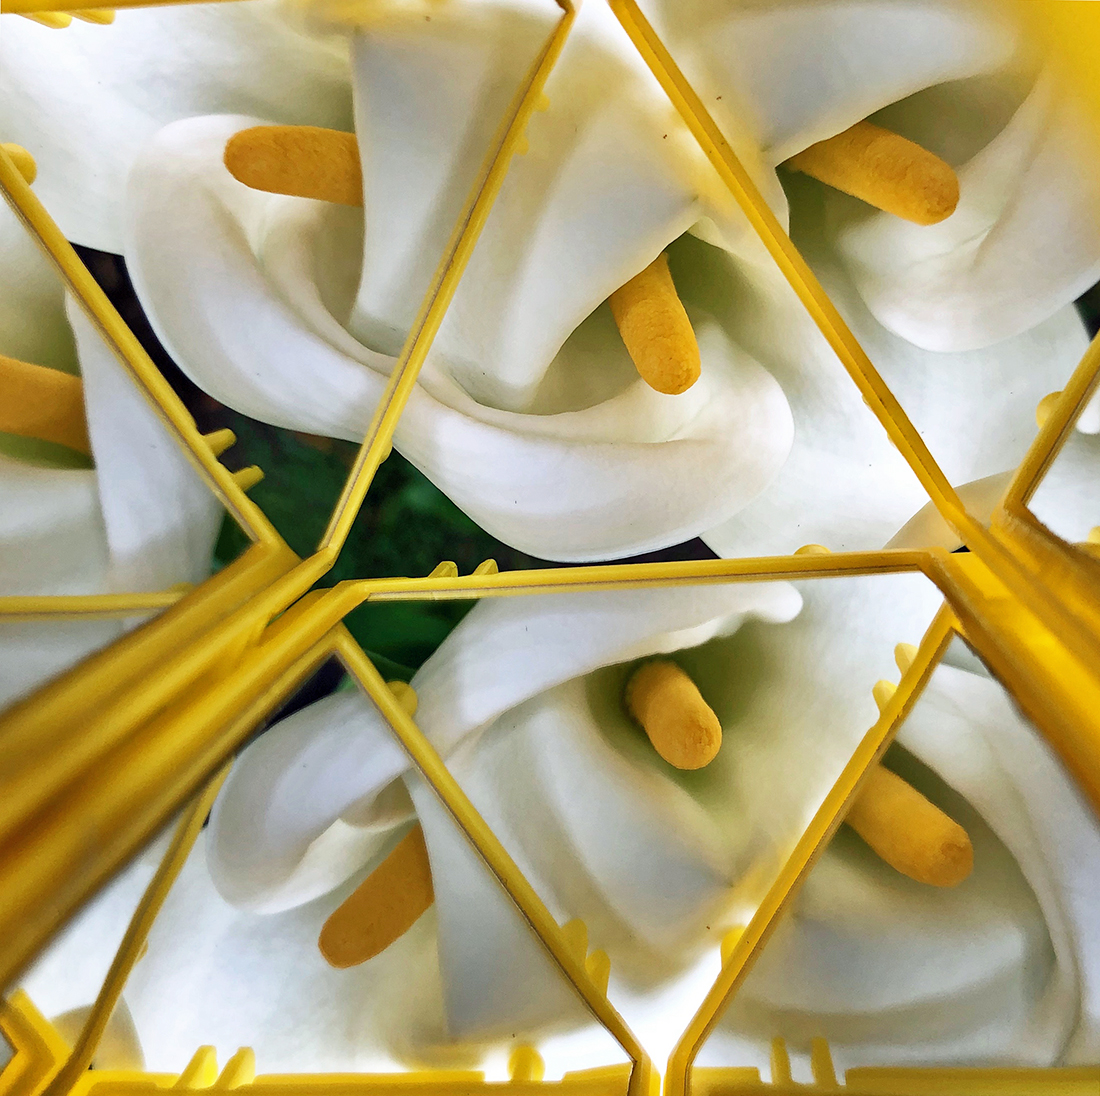
Geometiles kaleidoscope with calla lilly. This kaleidoscope has no bottom. 
Geometiles kaleidoscope with a mirrored bottom. 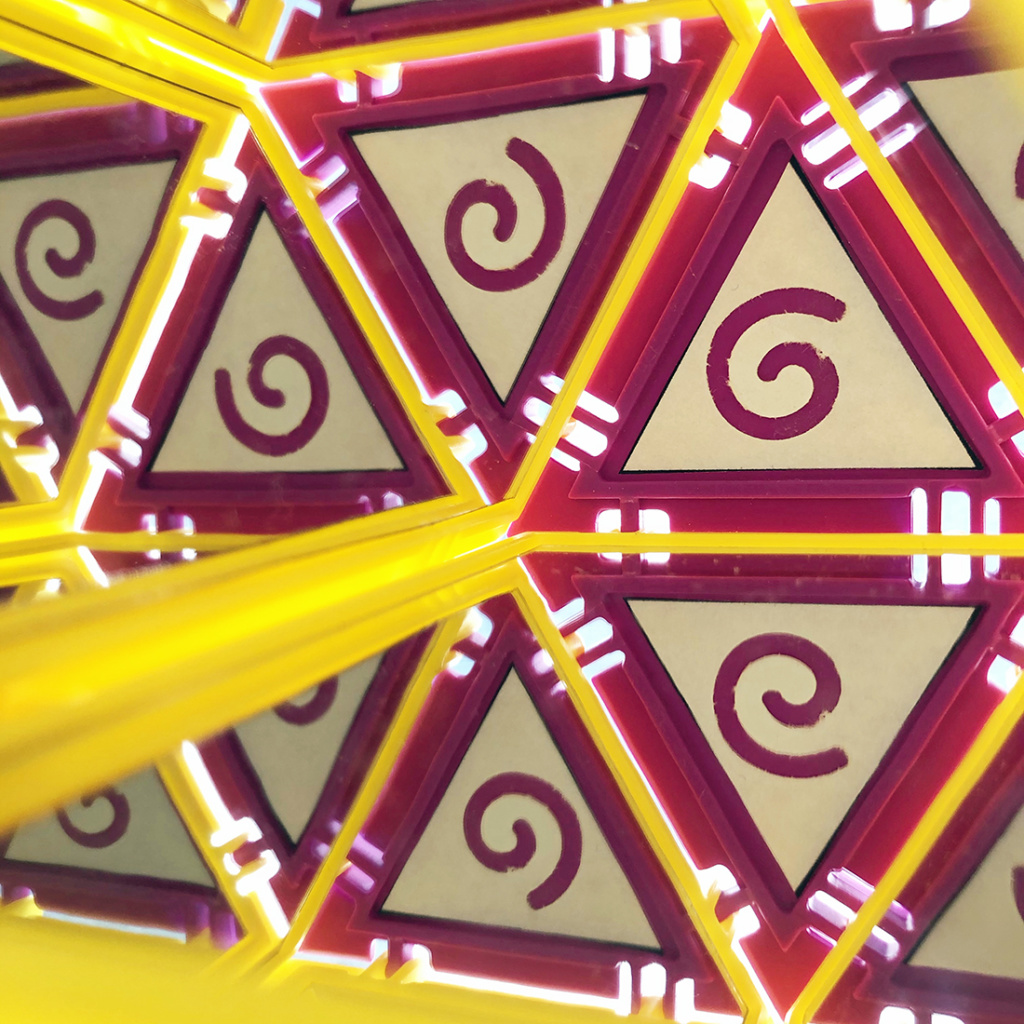
Geometiles kaleidoscope with a customizable bottom.
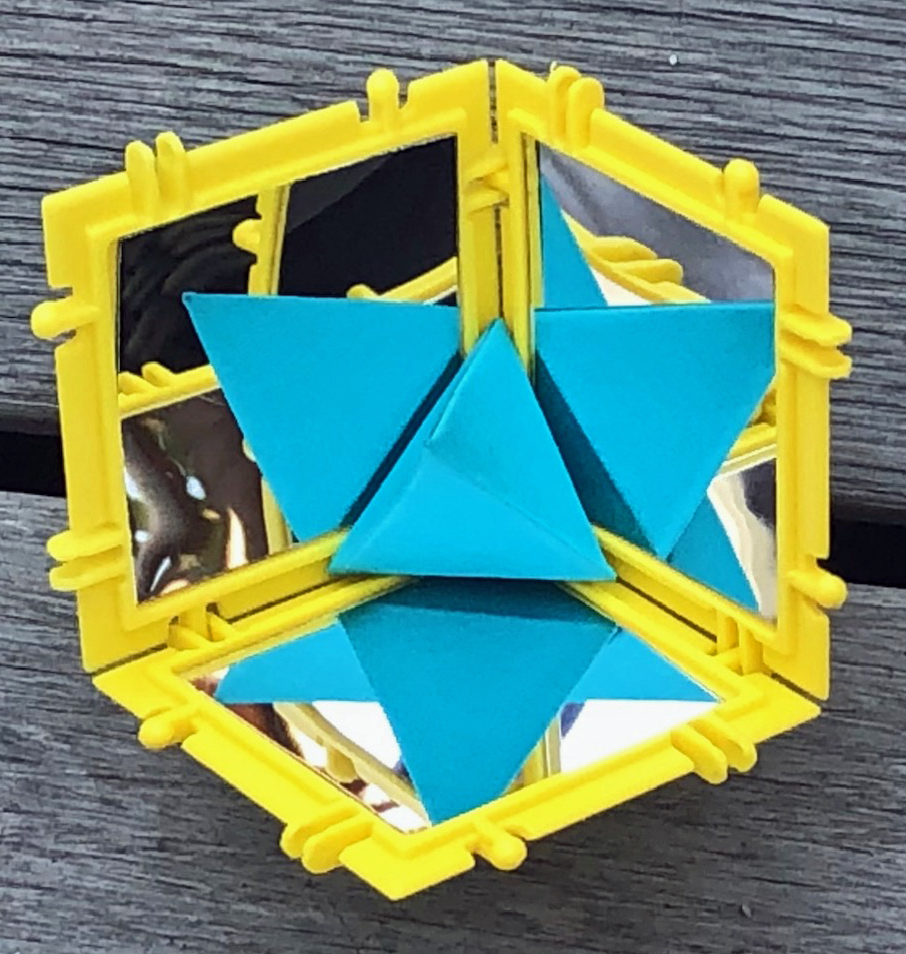
Double tetrahedron-> stella octangula 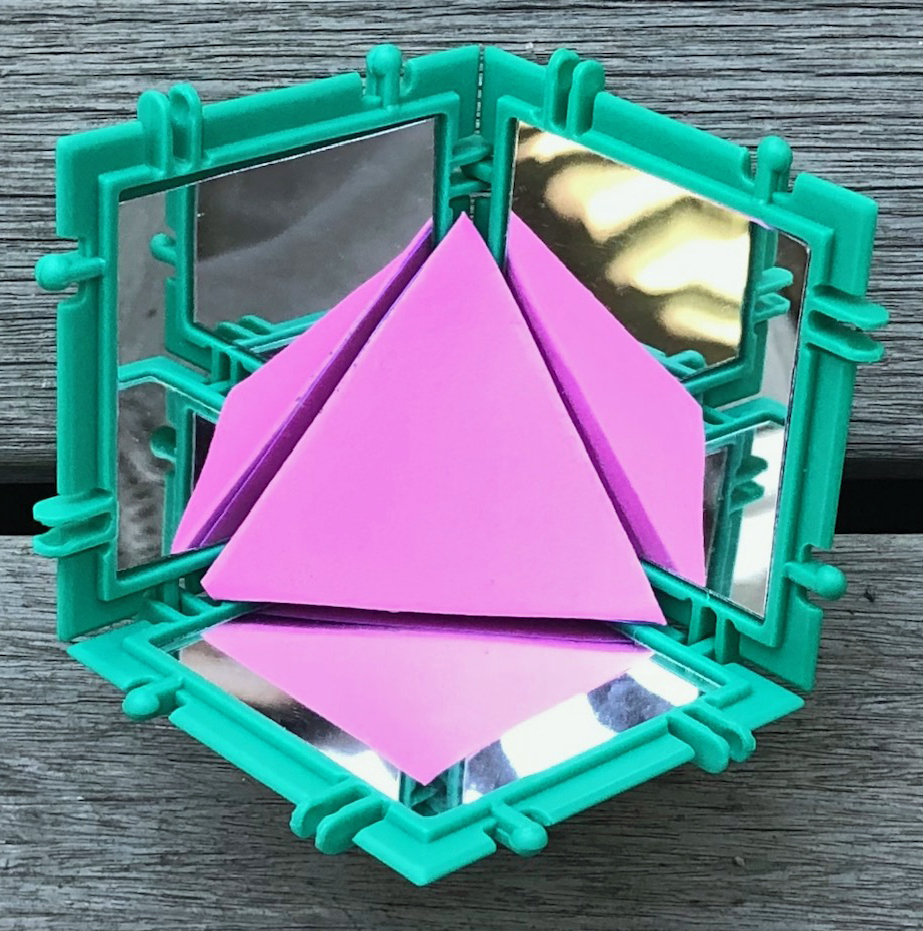
Tetrahedron -> octahedron
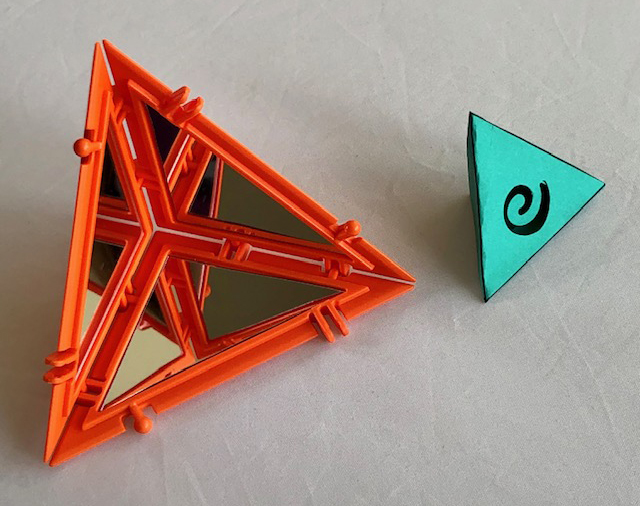
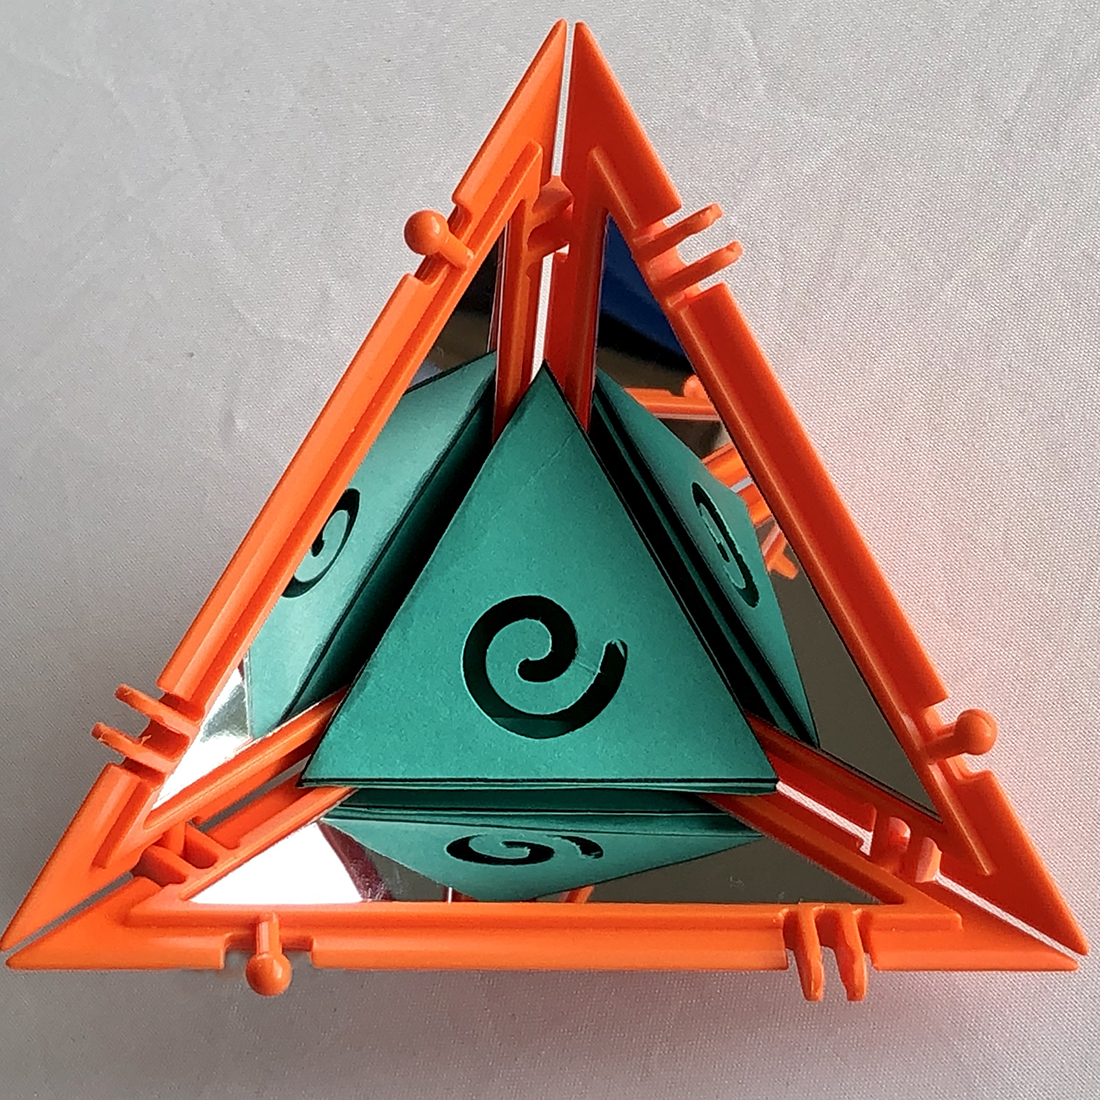
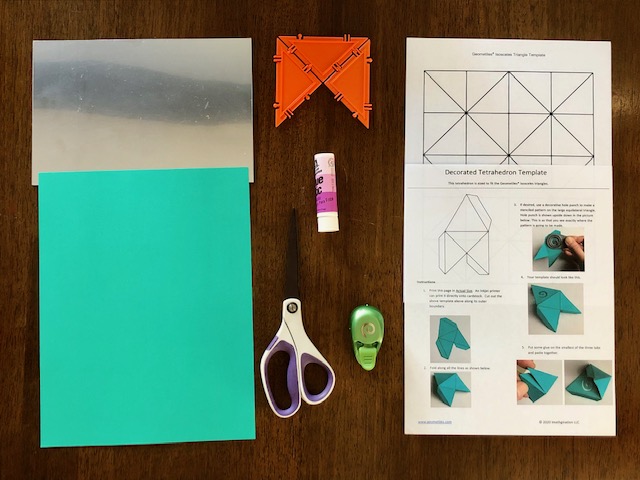
Mirror isosceles triangles and a decorated tetrahedron 
Tetrahedron -> octahedron 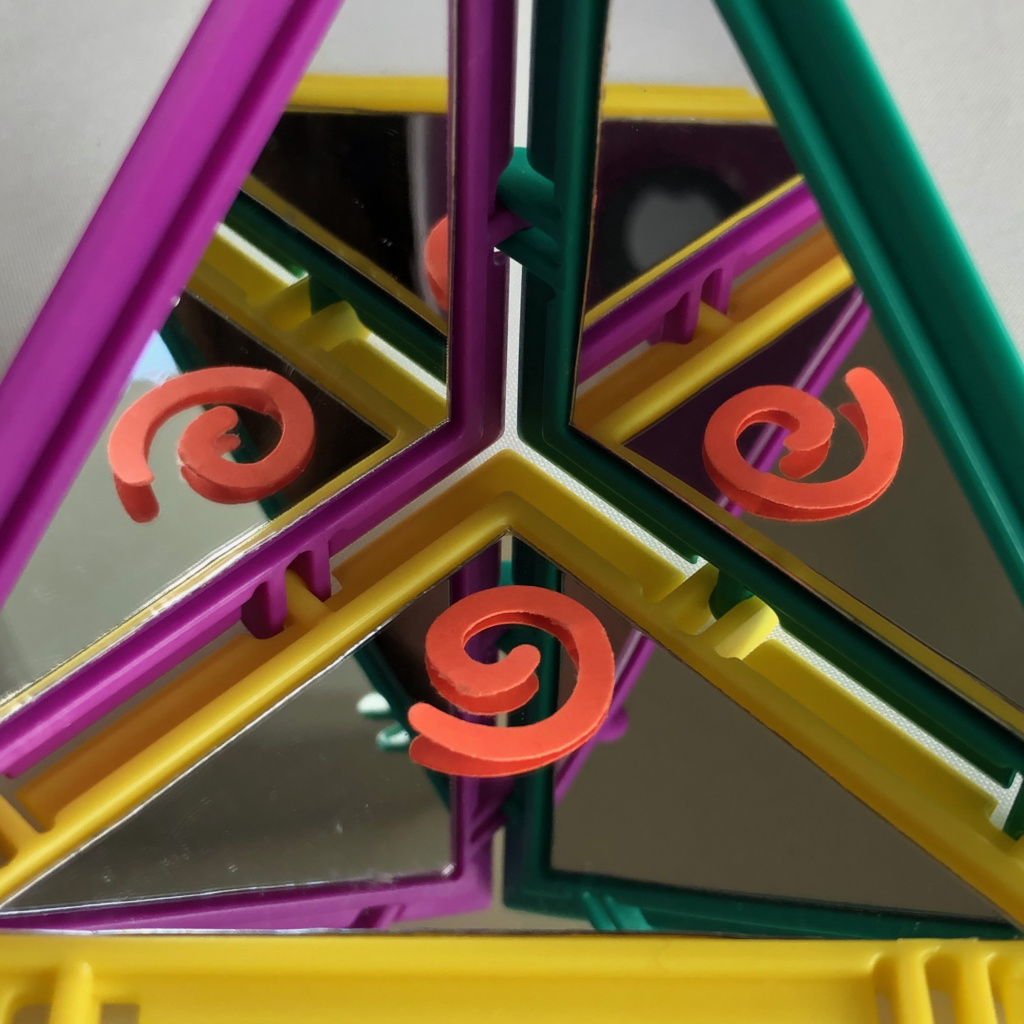
Swirl as seen inside kaleidoscope
Back in 2019 Bjoern Muetzel had the idea to attach adhesive mirrors to Geometiles. He introduced them at the National Math Festival in Washington D.C., and the kids went wild. After many requests for instructions to make these, we finally have something you can reproduce at home with minimal additional tools.
Printable templates for the 7 Geometiles shapes
Print these pdf files in Actual Size and paste to the back of flexible adhesive mirrors. We have had success with these mirrors from Amazon. If you find other ones that work for you, please let us know!
Detailed instructions for specific objects
- Triangular prism kaleidoscope with no bottom for viewing items of your choice.
- Triangular prism kaleidoscope with customizable bottom.

- Square kaleidoscope and stencils of polyhedra that go into it.
- Isosceles triangle kaleidoscope and accompanying tetrahedron stencil.
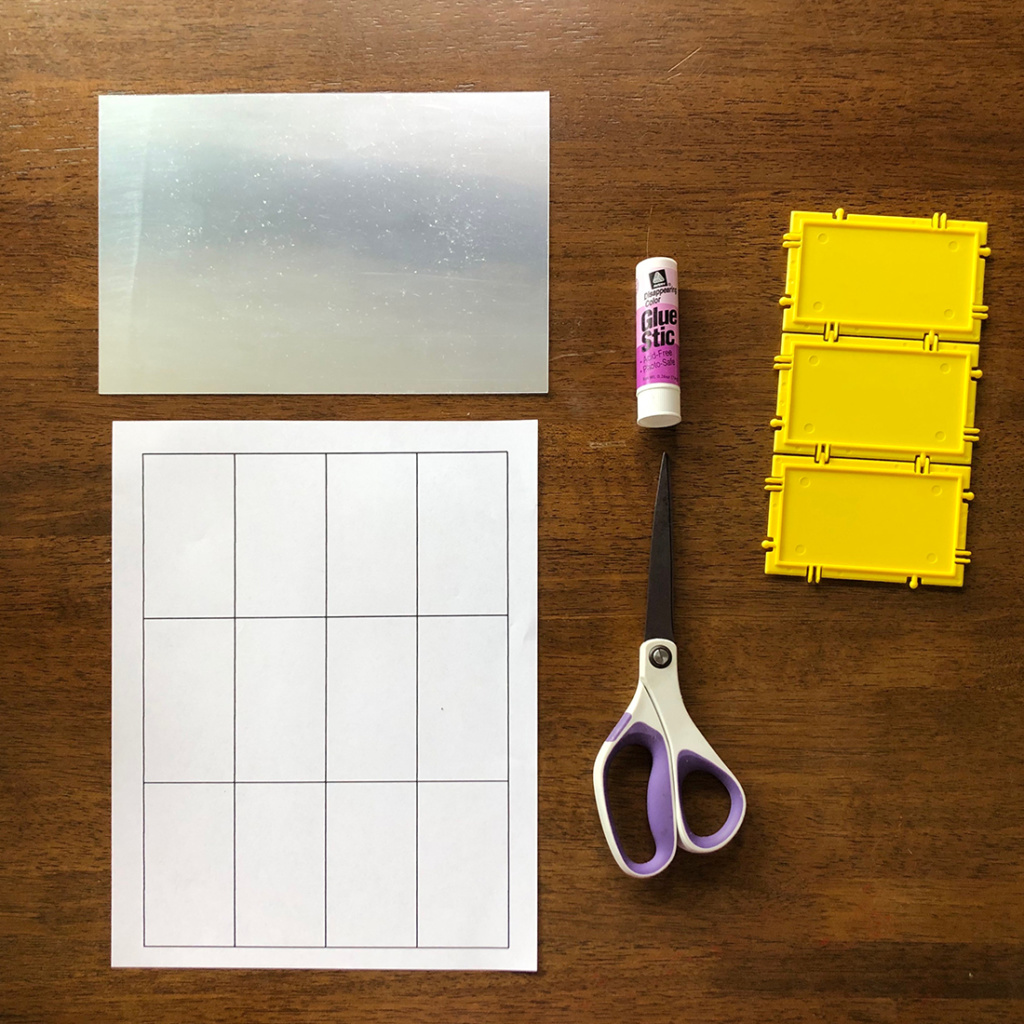
Triangular prism kaleidoscope with no bottom
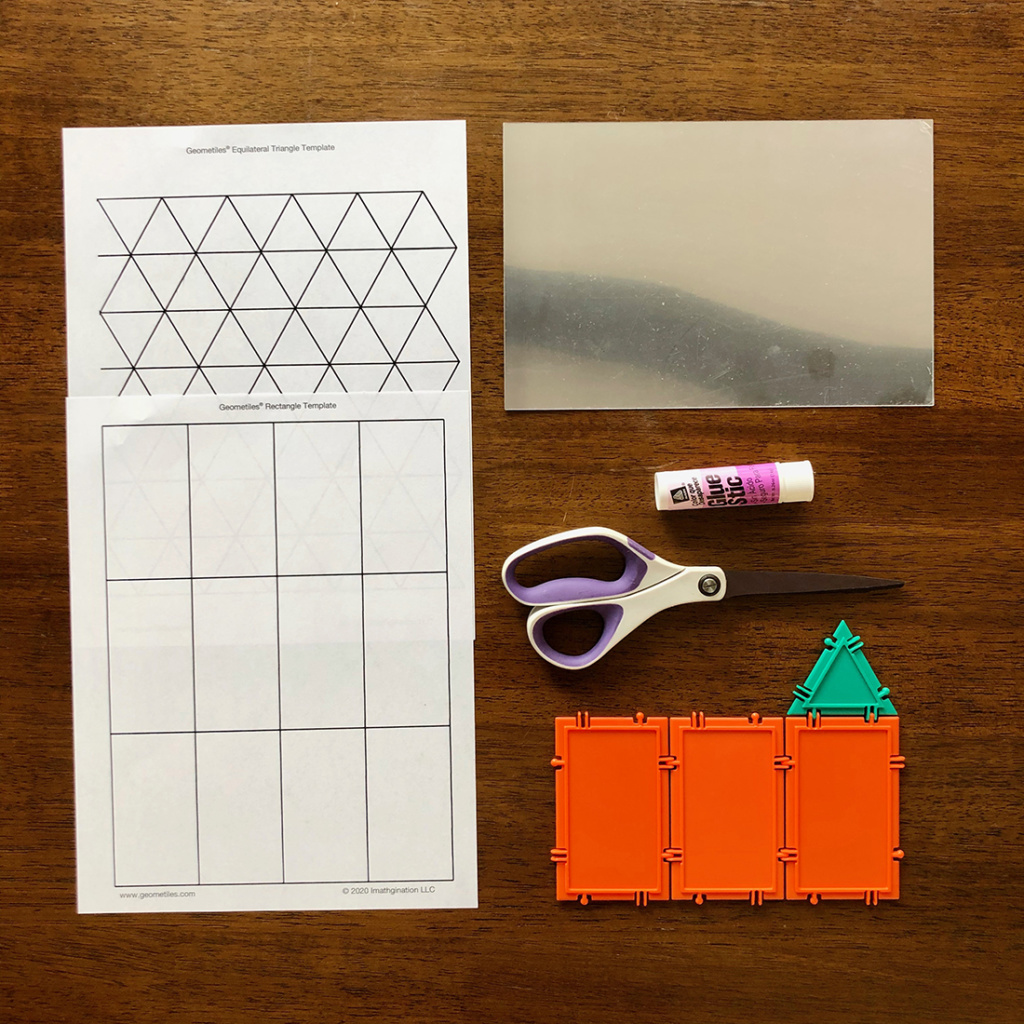
You will need:
- 3 Geometiles rectangles (you can get these in a Mini 2, Mini 3, 96-Piece set or Jumbo Set)
- Adhesive flexible plastic mirrors. We have had success with these from Amazon. If you find other ones that work for you, please let us know!
- Scissors
- Glue stick
- A printout of the template we created. Make sure to print in “Actual size”, not fit to paper.
Here are the step-by-step instructions:
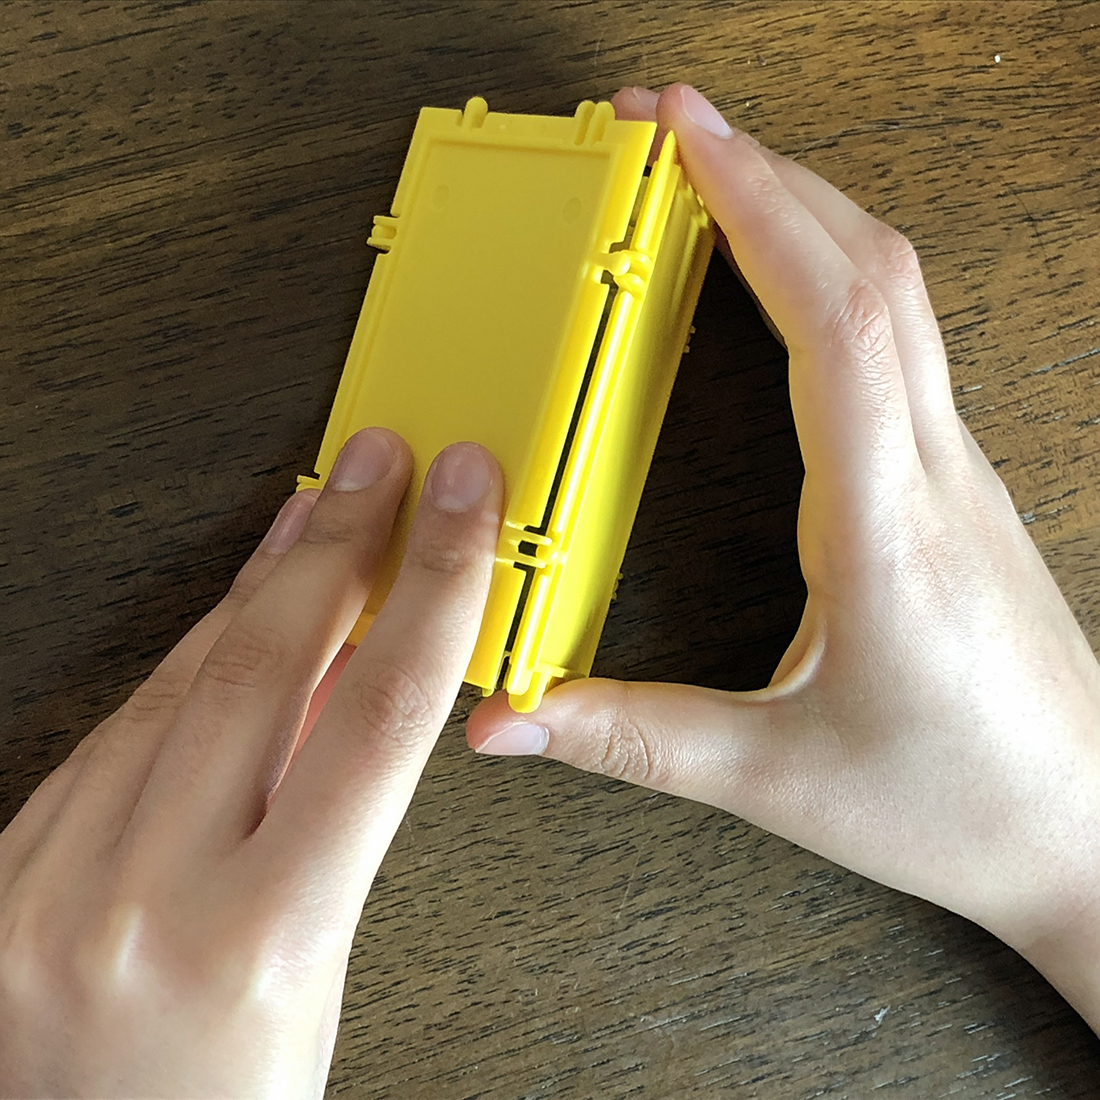
1. Decide how many rectangles you want to make. In this case, it’s 3.
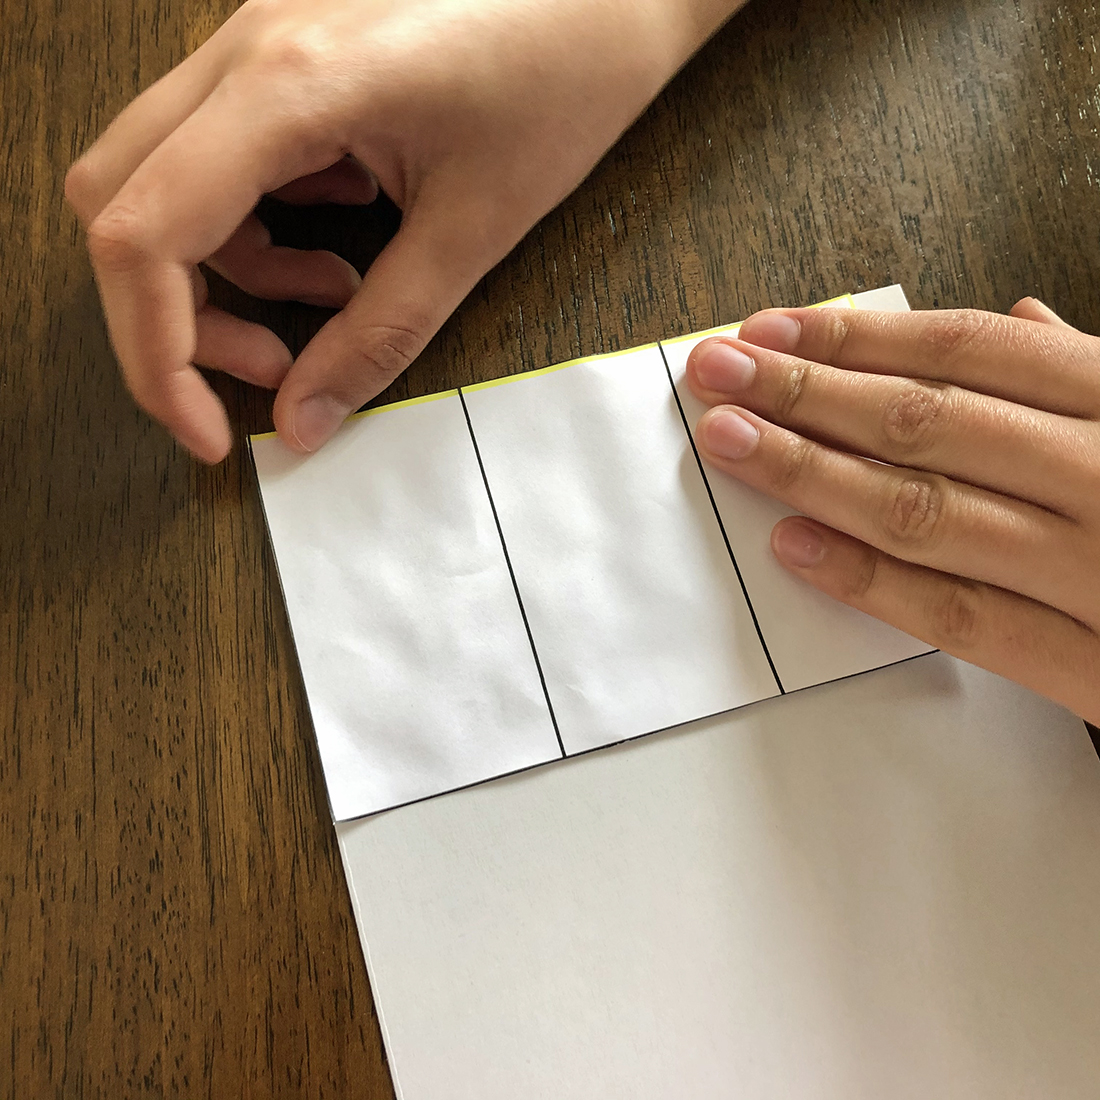
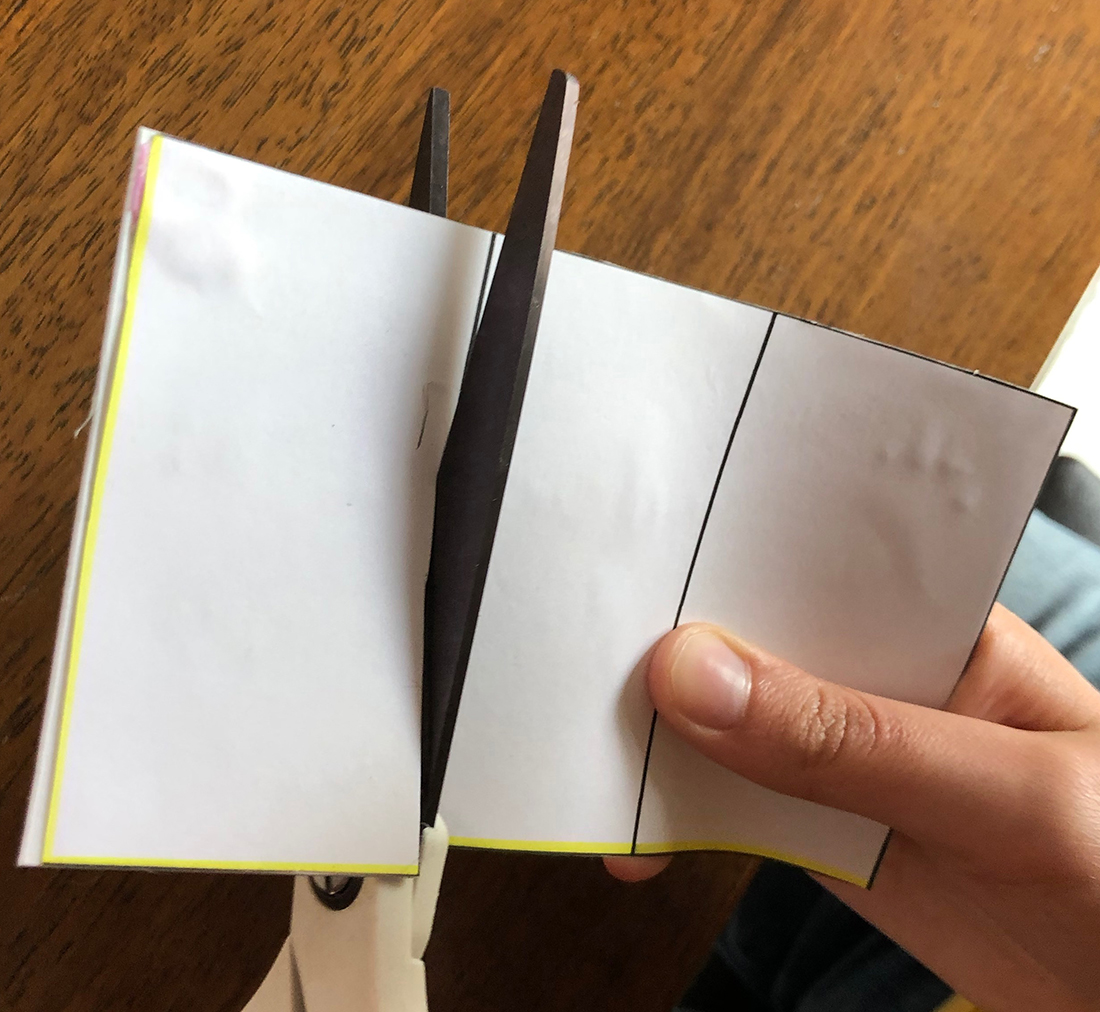
2. Cut out the 3 rectangles.

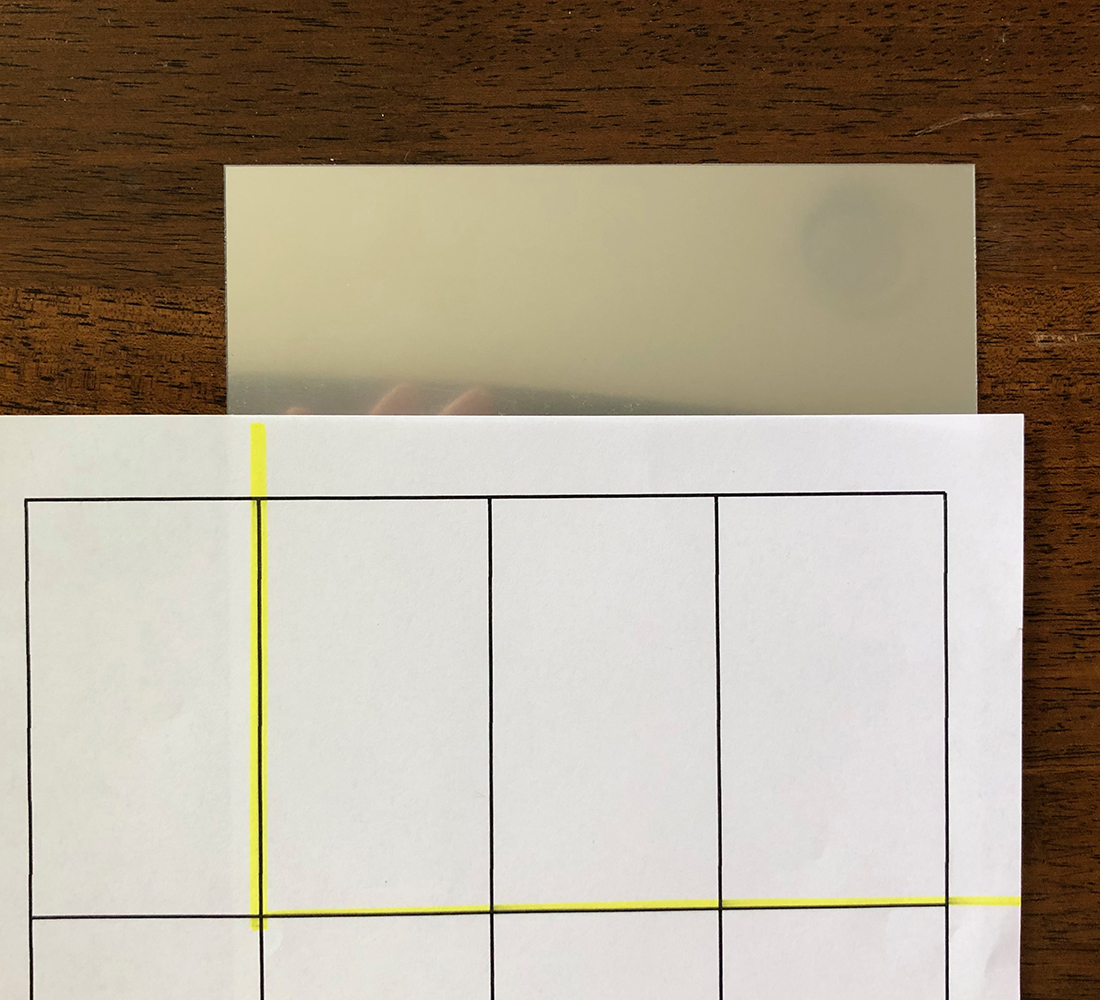
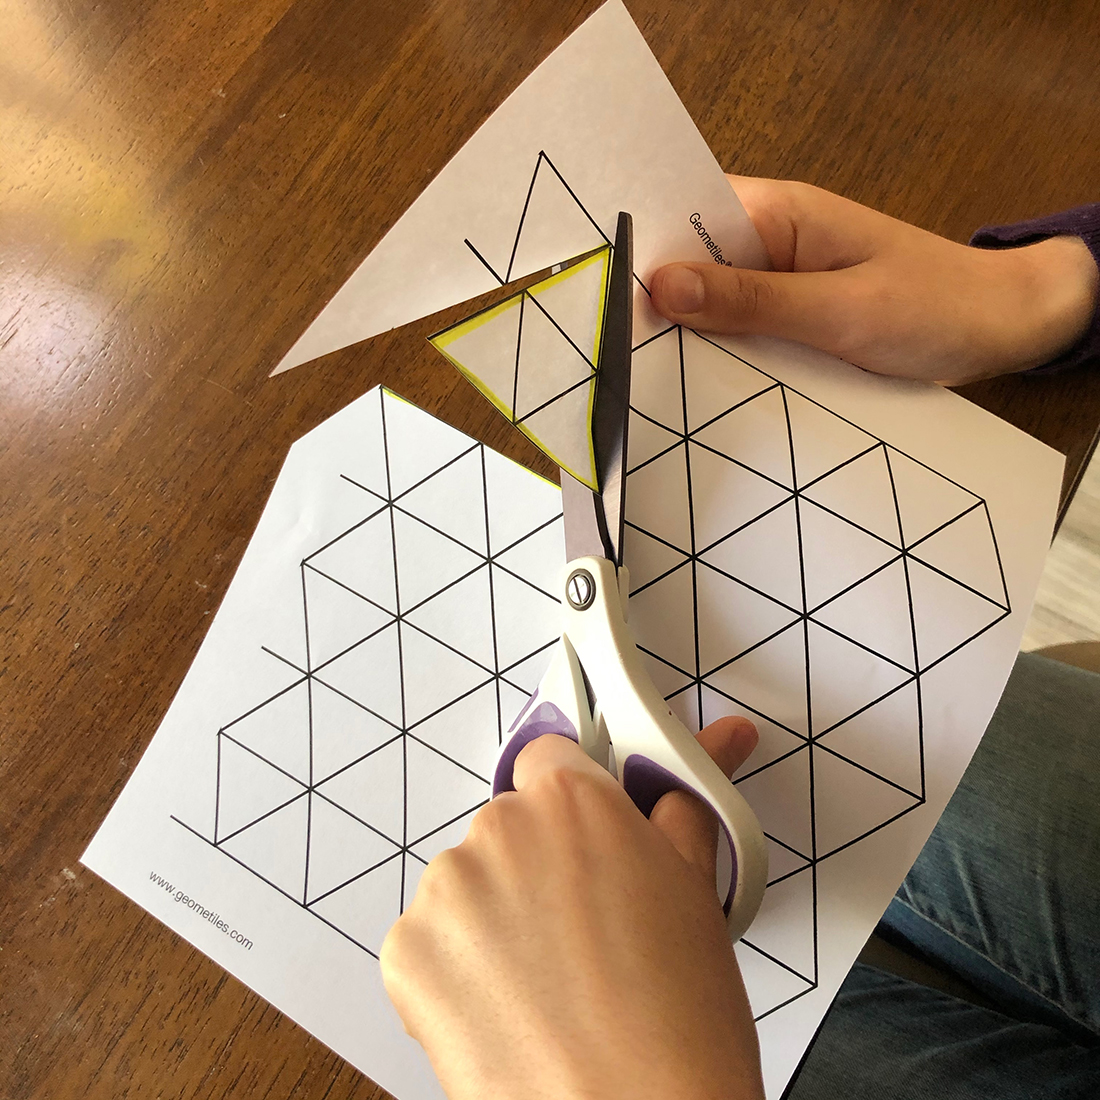
3. Apply glue to the back of the template and paste it to the mirror sheet.
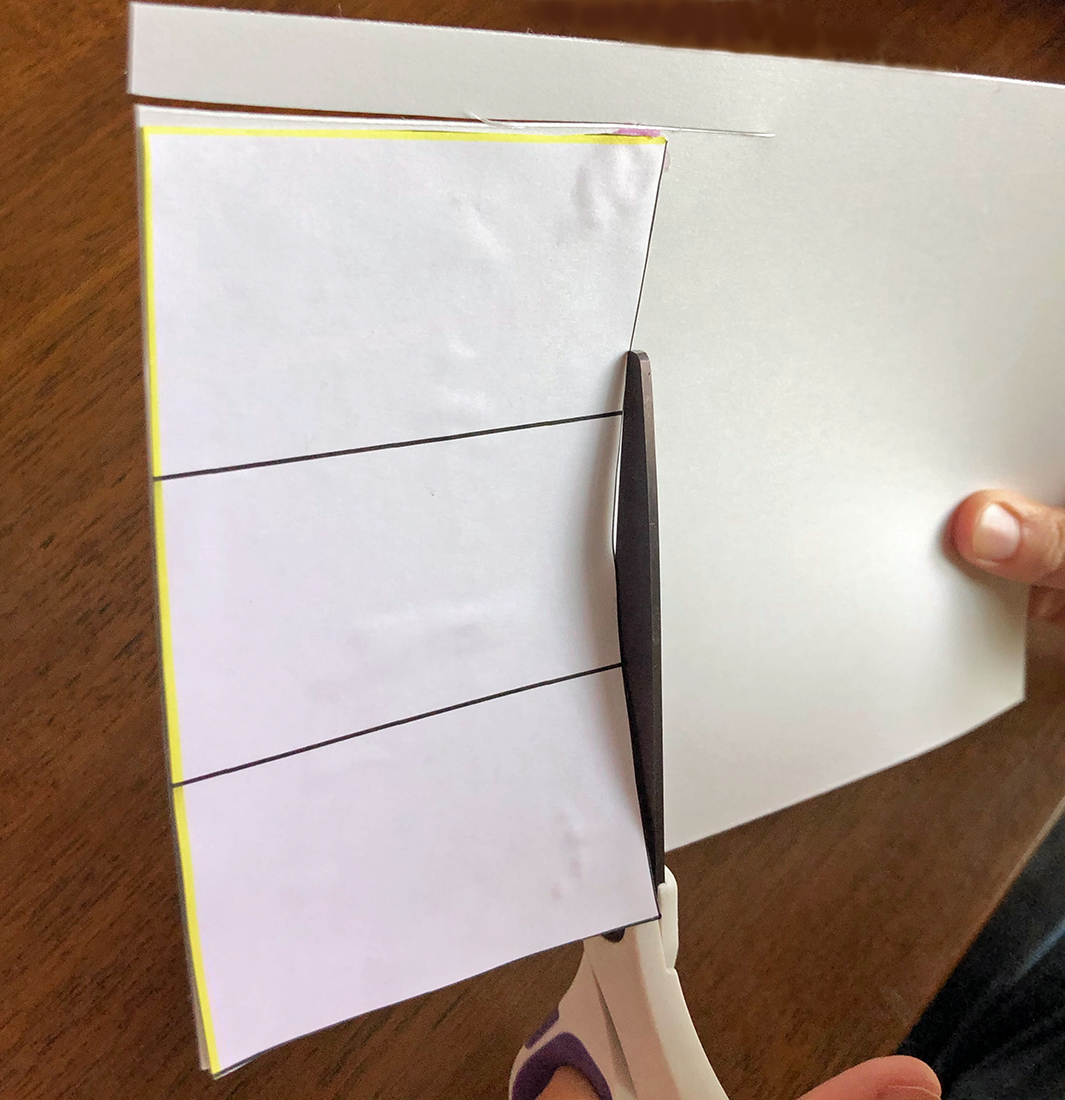
4. Cut along the border of the template and through the black lines.
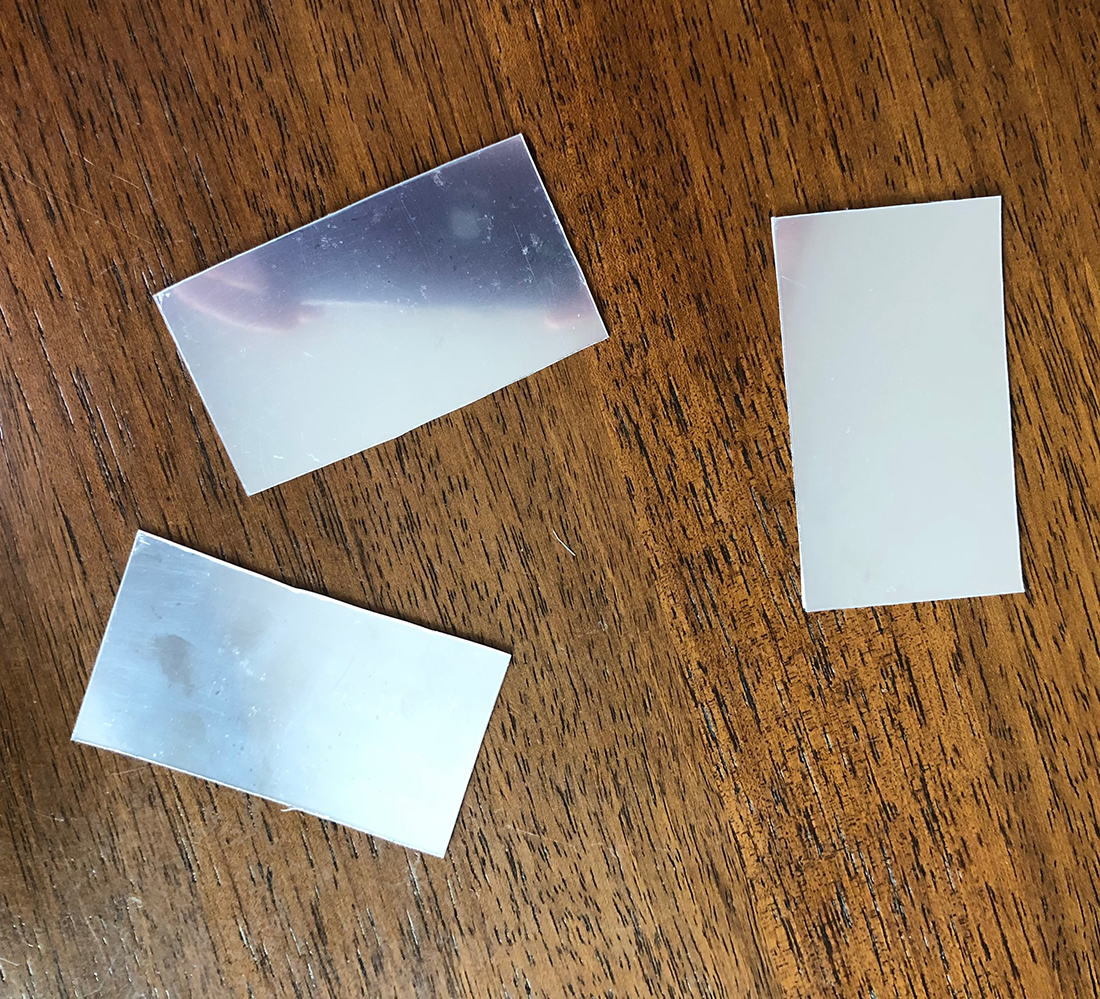
5. You will end up with 3 mirror rectangles. Do NOT remove the transparent plastic protective film just yet
.
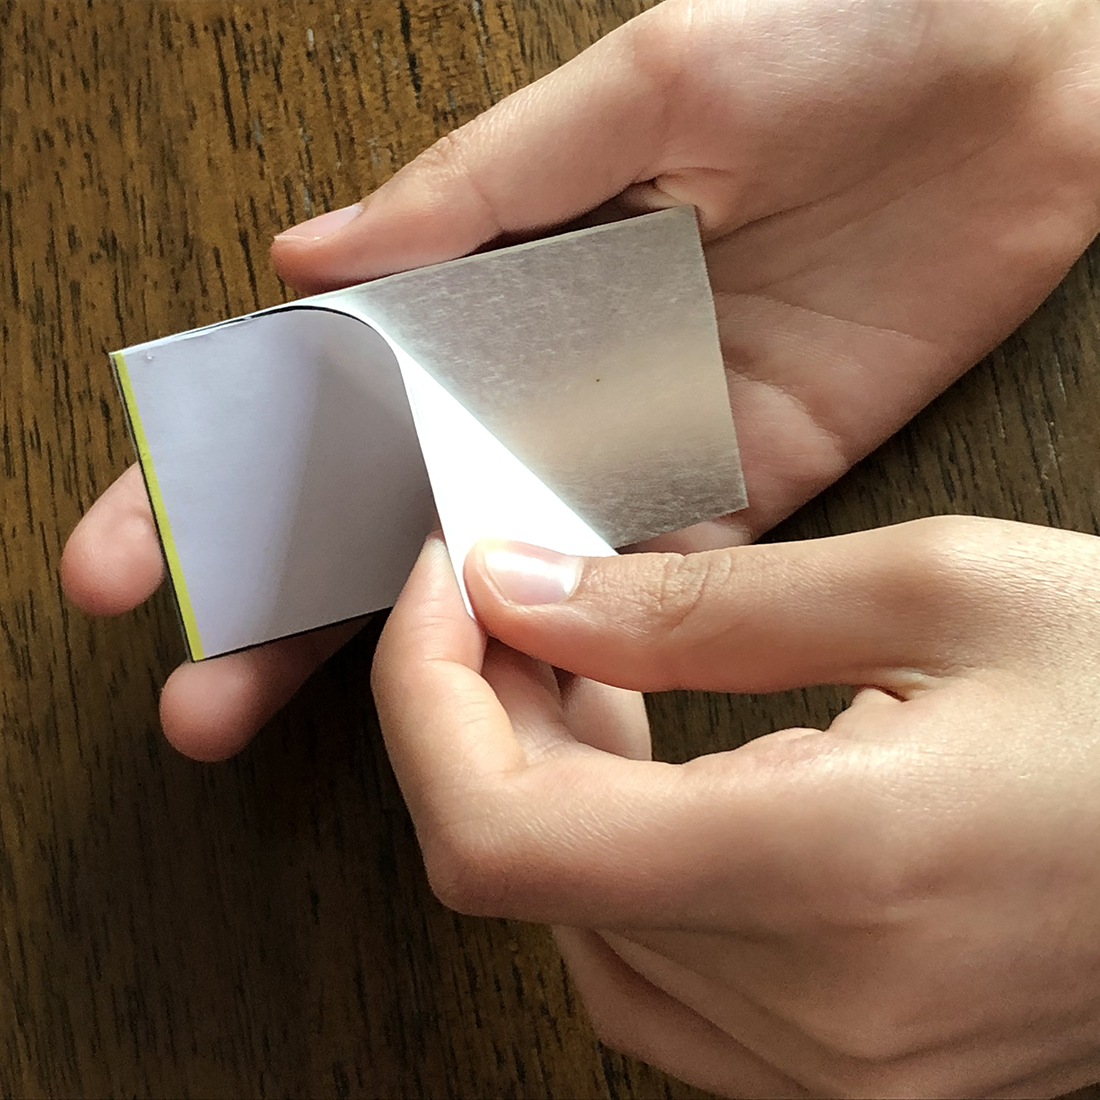
6. Remove the wax paper along with your template paper from the back of each mirror rectangle, and attach it to the Geometiles rectangle. Repeat with the remaining two rectangles.
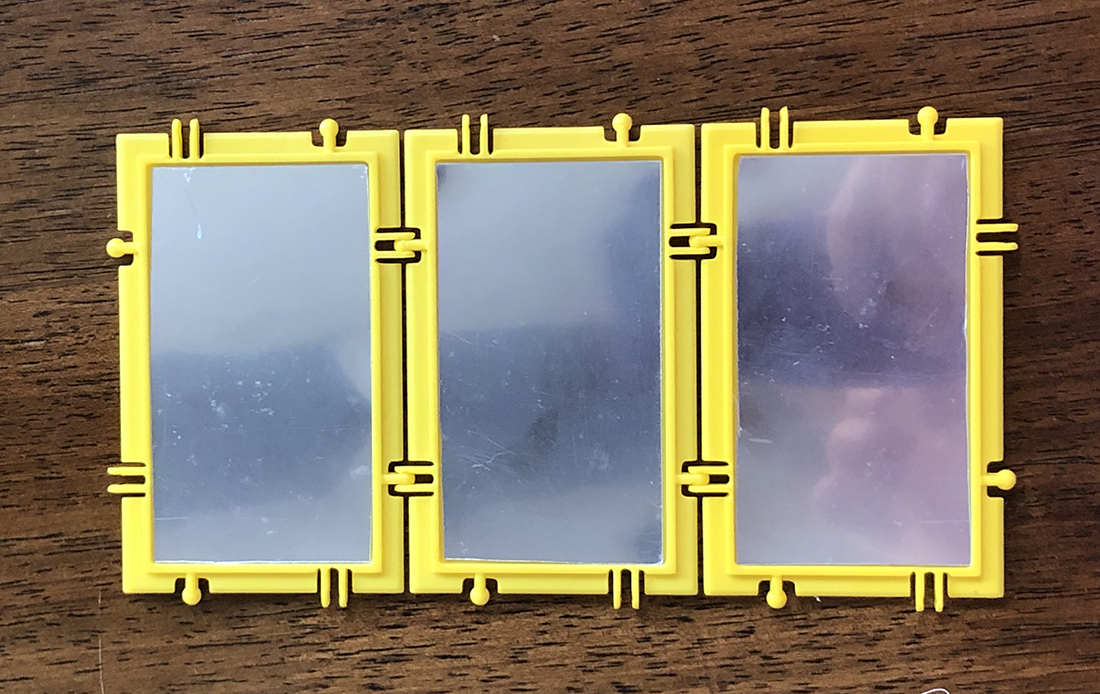
7. Now you can remove the protective film from each mirror.
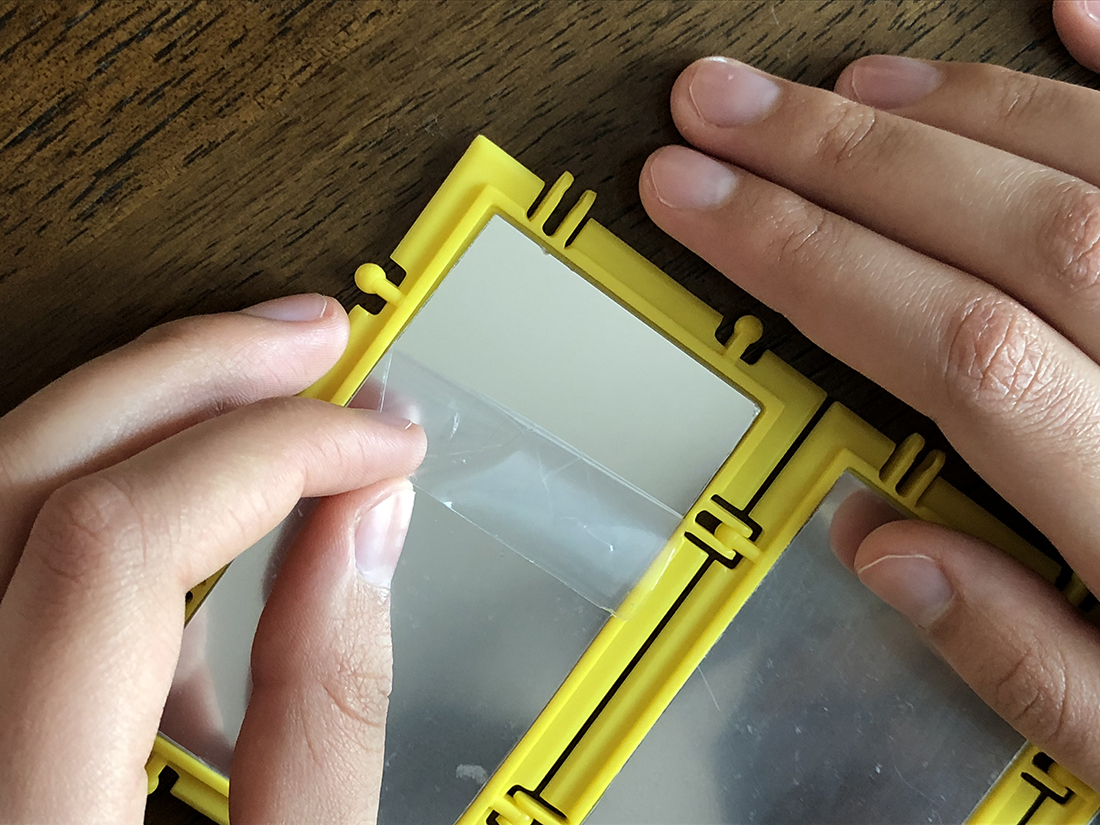
8. Attach and enjoy!

Triangular prism kaleidoscope with customizable bottom
You will need:
- 3 Geometiles rectangles and 1 Geometiles equilateral triangle (you can get both of these in a Mini 2, Mini 1 plus Mini 3, 96-Piece set or Jumbo Set; )
- Adhesive flexible plastic mirrors. We have had success with these from Amazon. If you find other ones that work for you, please let us know!
- Scissors
- Glue stick
- A printout of the template we created. Make sure to print in “Actual size”, not fit to paper.
1. Cut mirror rectangles per instructions for a triangular prism with no bottom.
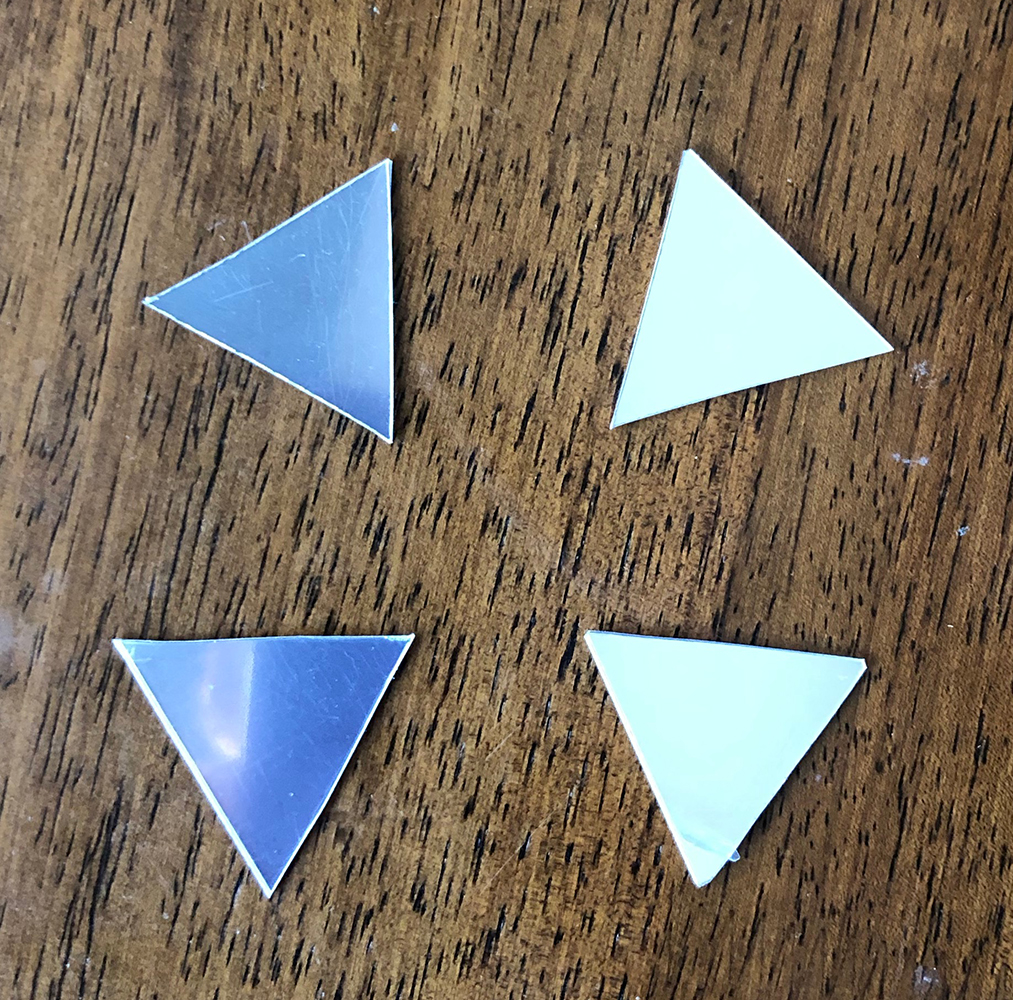
2. Cut mirror equilateral triangles. You will make the most of your mirror adhesive if you cut them in groups. Here we decided to cut them in a group of four.
3. Apply glue to the back of the template and paste it to the mirror sheet.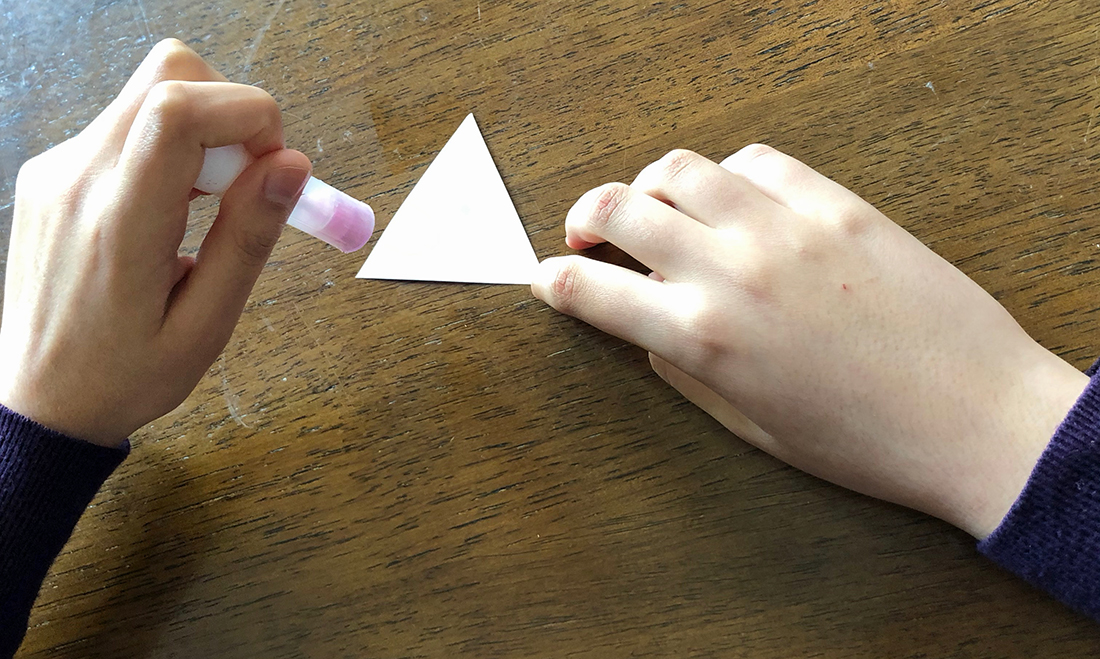
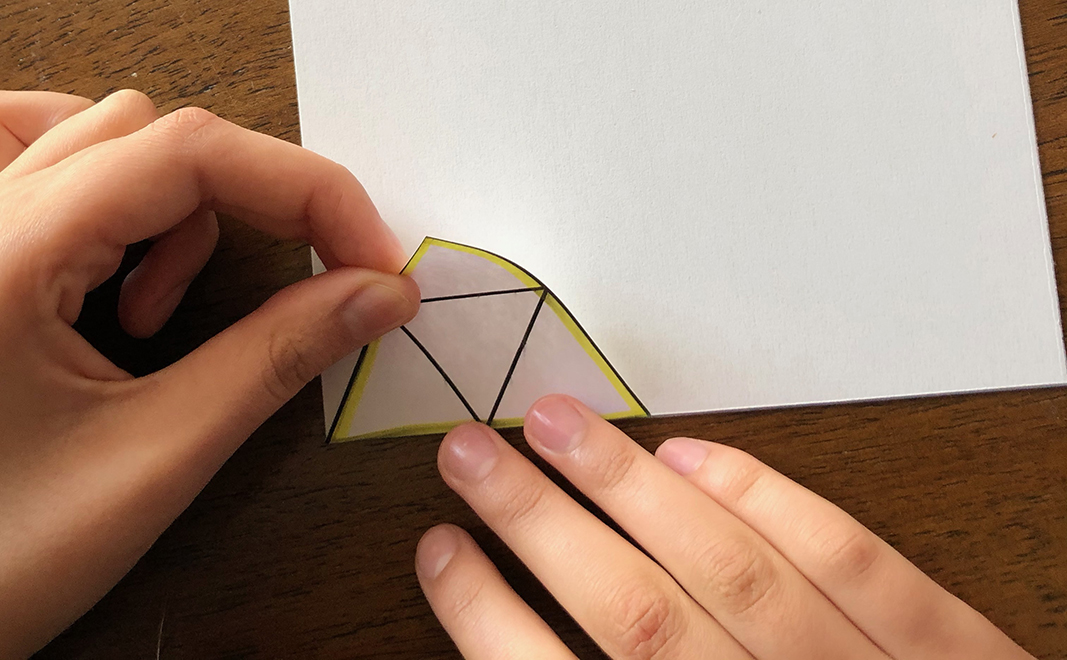
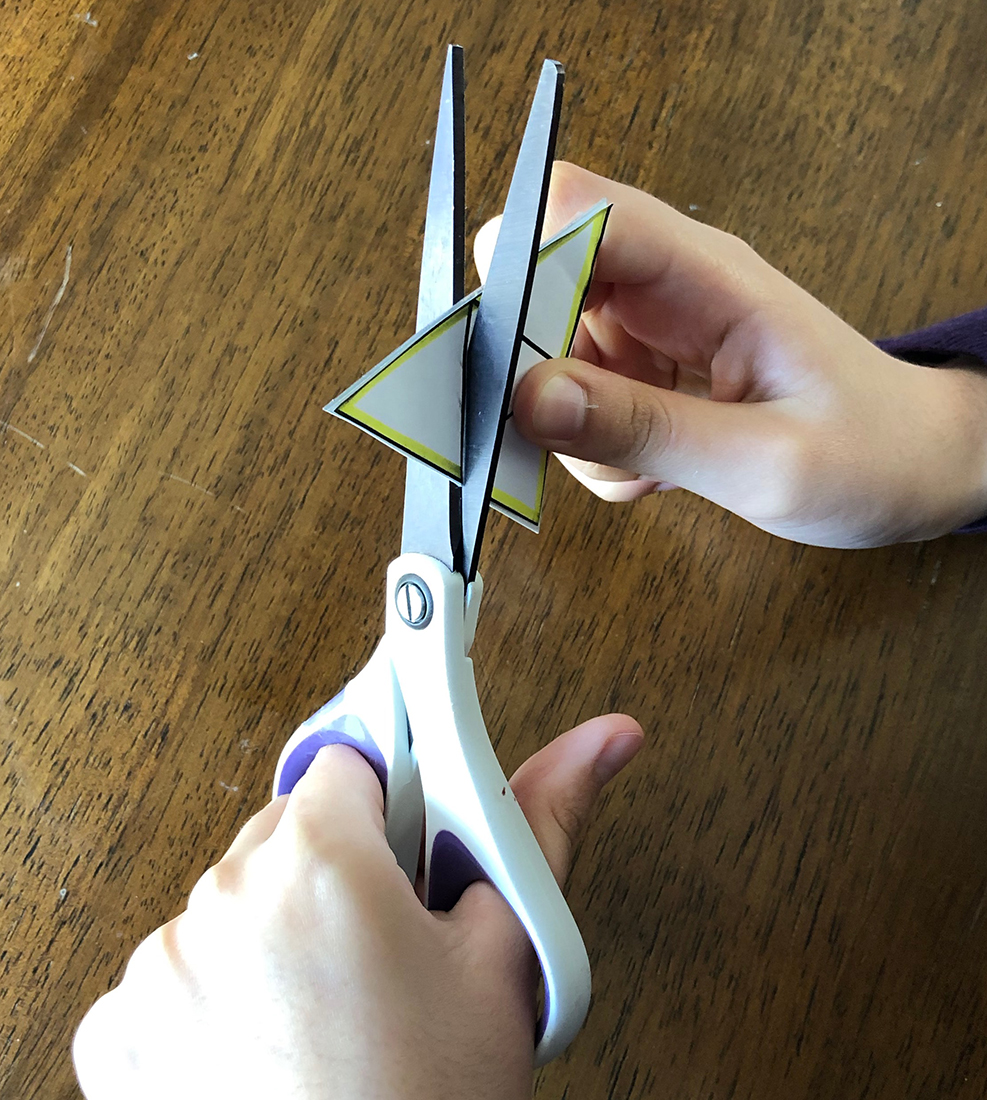
4. Cut along the border of the template and through the black lines.
5. You will end up with 4 mirror equilateral triangles. Do NOT remove the protective transparent mirror film just yet.
6. Remove the wax paper along with your template paper from the back of one mirror triangle, and attach it to the Geometiles triangle. 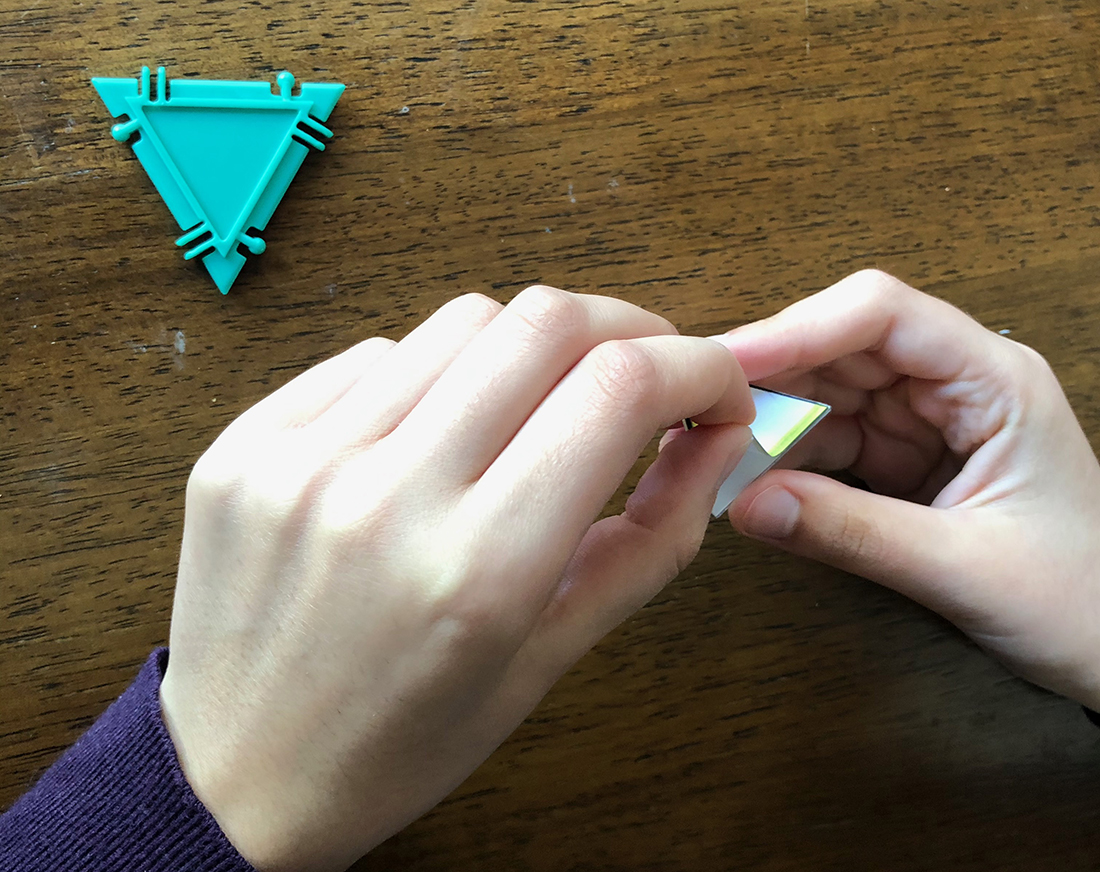
7. Remove the protective film from the mirror.

8. Connect the triangle to the rectangles to create a net for the kaleidoscope.
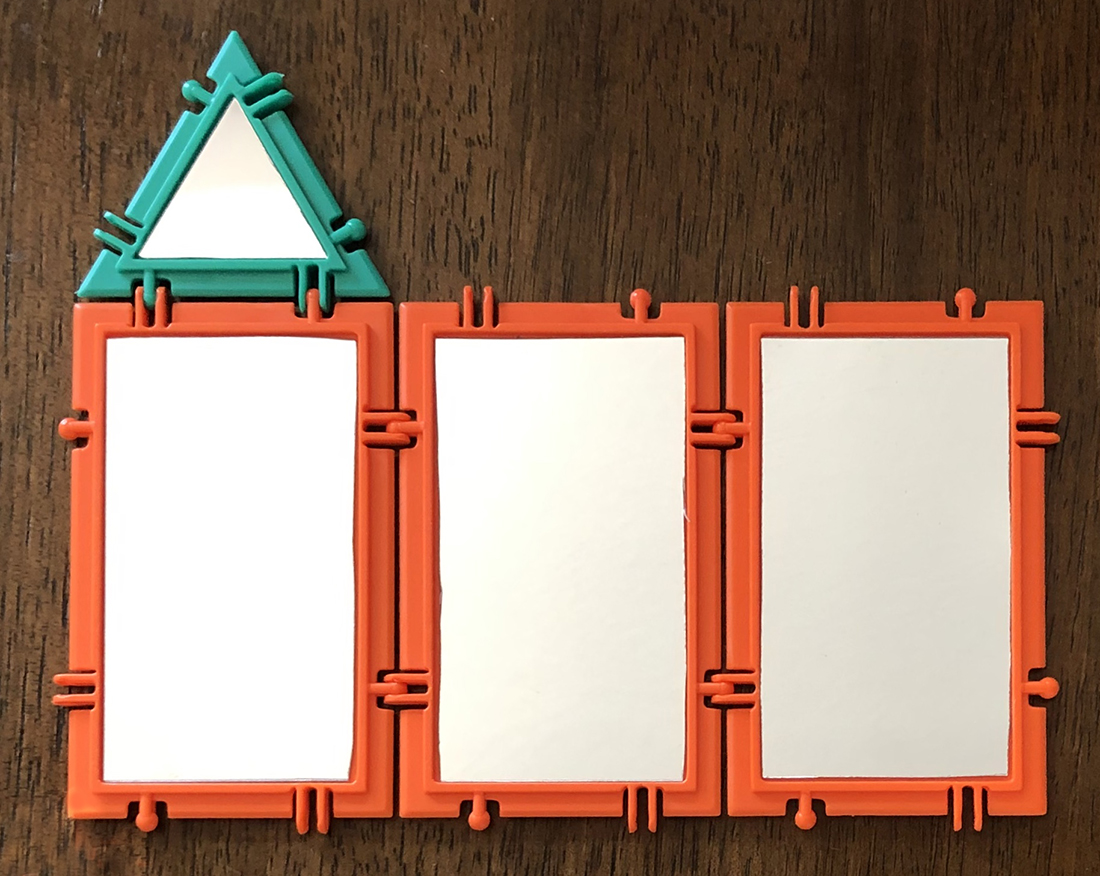
9. Assemble and enjoy!

Variation: use your own design at the bottom of the kaleidoscope instead of a mirror
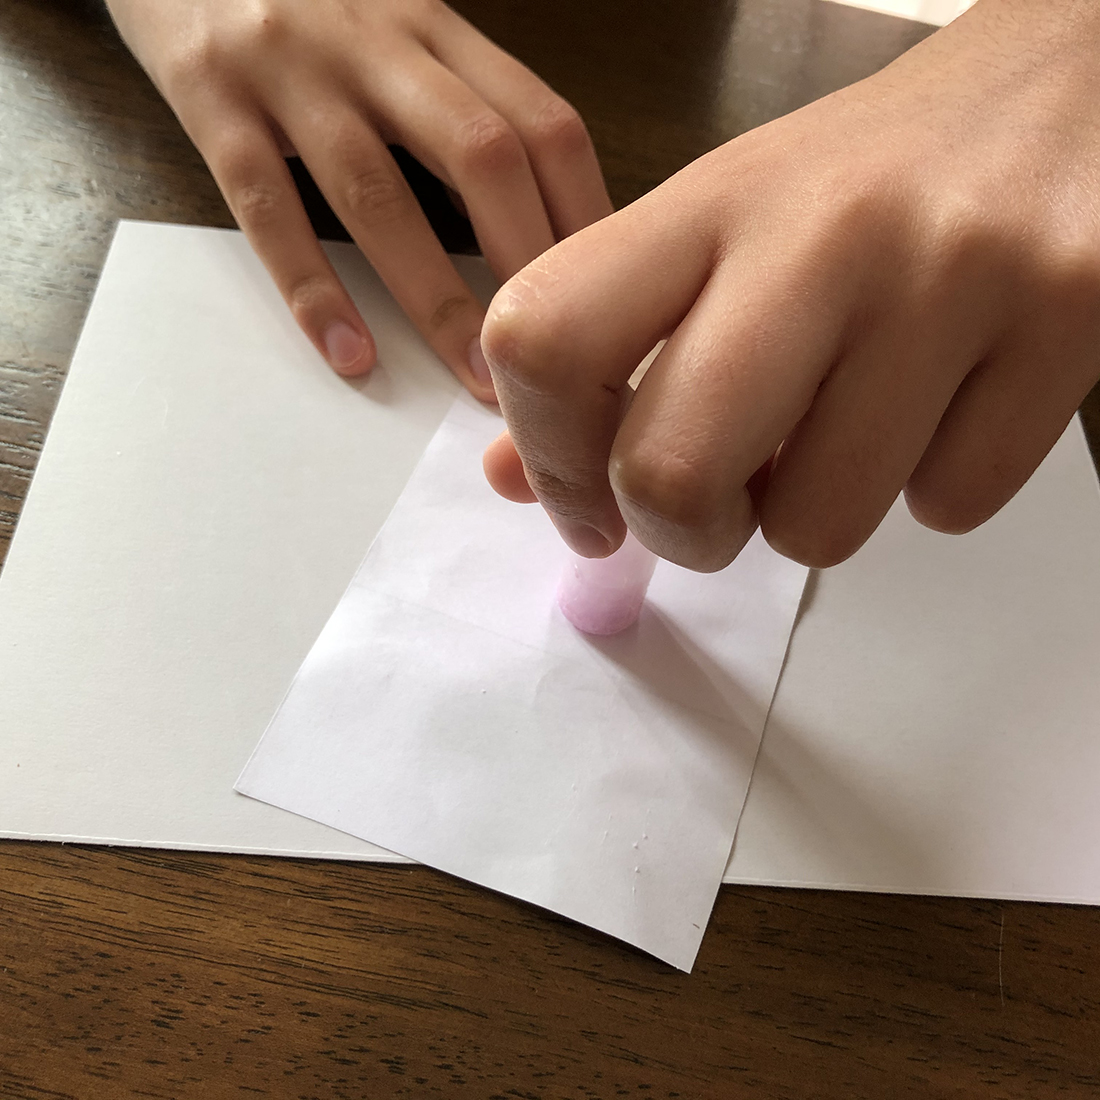
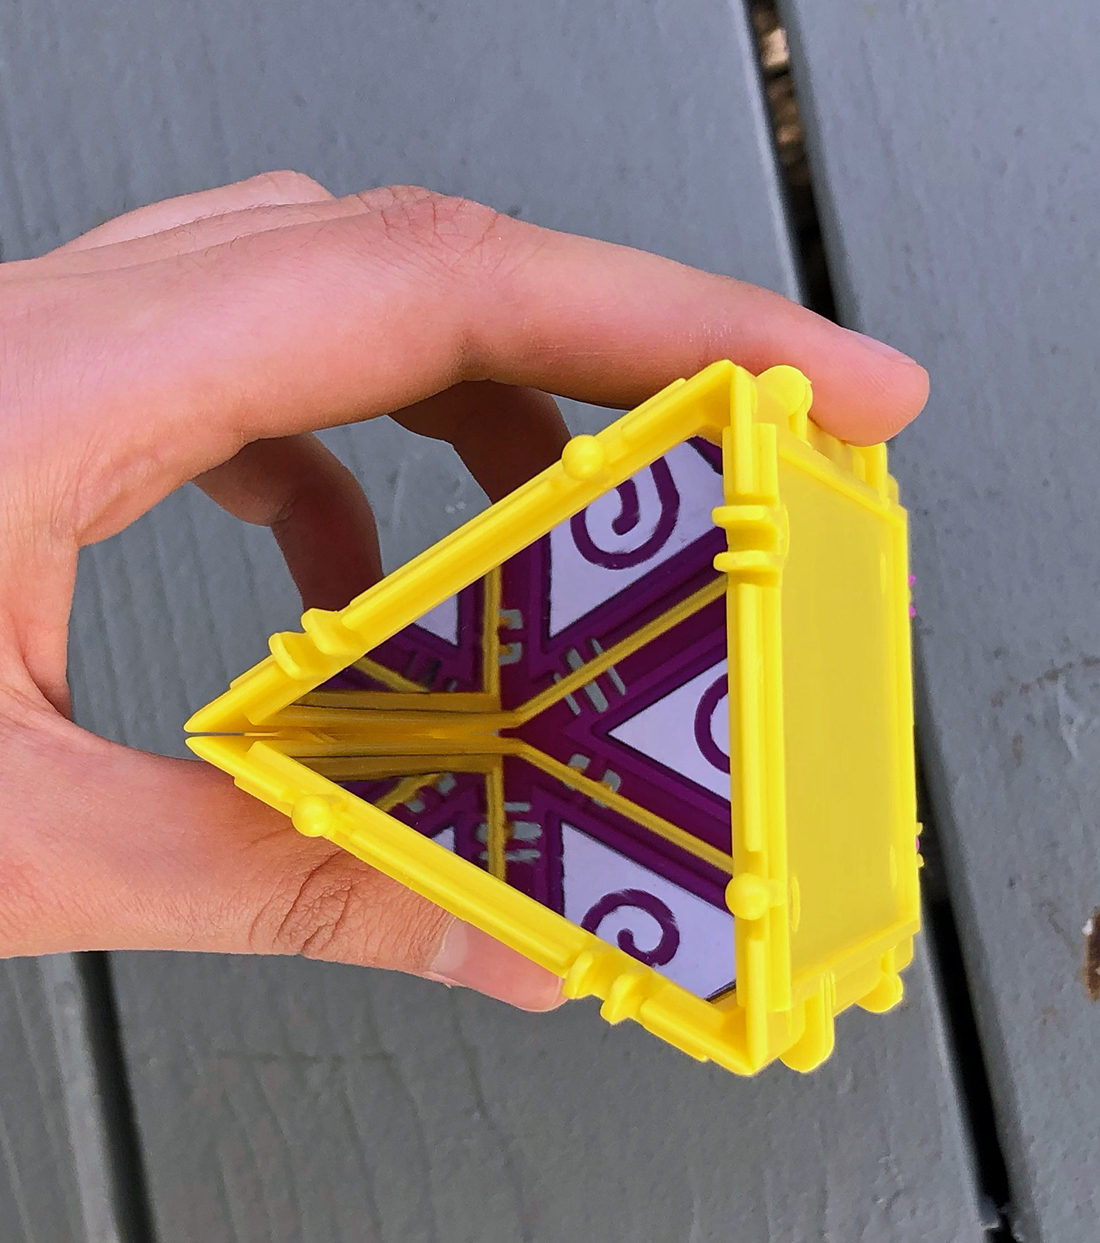
You can also decorate the one of the equilateral triangles with your own design instead of using a mirror. Here we used a decorative hole punch to create a swirl.
Square kaleidoscope
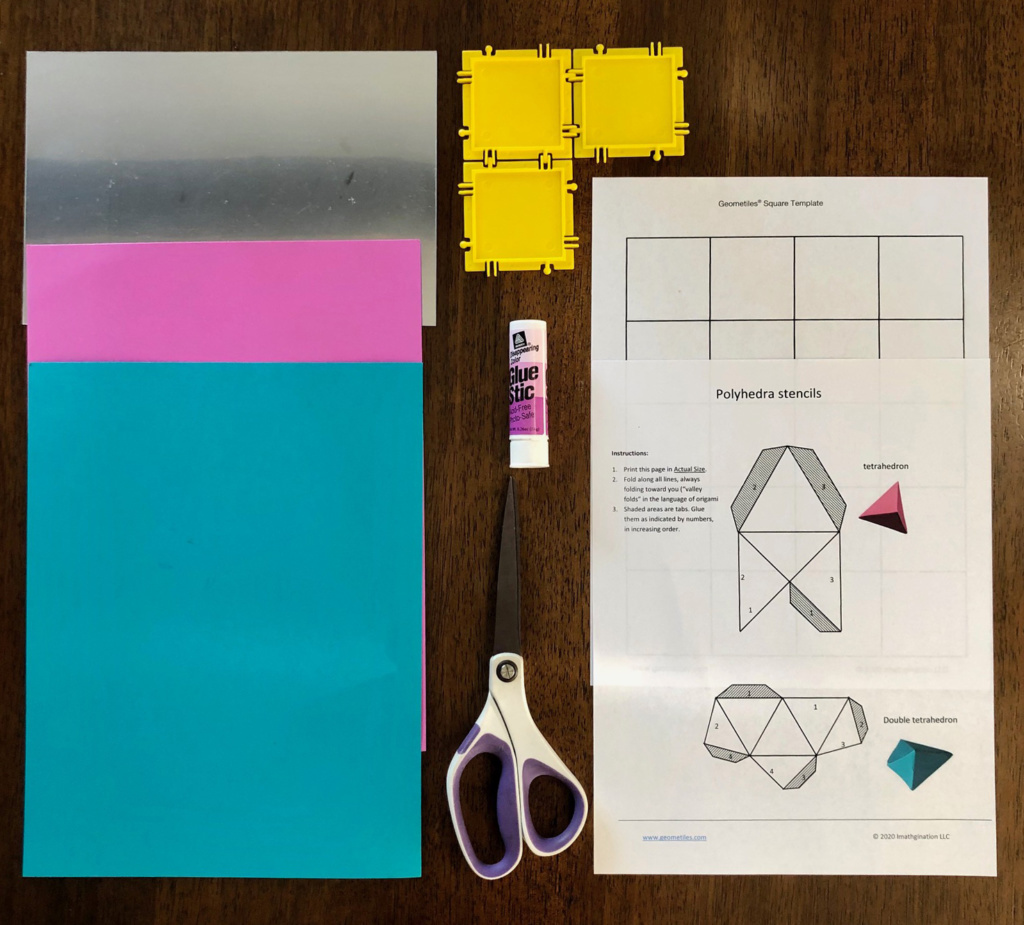
You will need:
- 3 Geometiles squares (you can get these in a Mini 2, 96-Piece set or Jumbo Set)
- Adhesive flexible plastic mirrors. We have had success with these from Amazon. If you find other ones that work for you, please let us know!
- Scissors
- Glue stick
- A printout of the square template we created. Make sure to print in “Actual size”, not fit to paper.
- Cardboard for making paper polyhedra. We had success with 65 lb paper and 70 lb paper for the smaller and larger polyhedra, respectively
- Stencil for making paper polyhedra
1. Cut mirror squares per instructions for a triangular prism with no bottom, replacing the square template for the rectangle one
2. Create some paper polyhedra using this stencil.
3. Have fun experimenting! Try inserting your own objects into the kaleidoscope and see what happens.
Isosceles triangle kaleidoscope
You will need:
- 3 Geometiles isosceles triangles (you can get these in a Mini 3, 96-Piece set or Jumbo Set)
- Adhesive flexible plastic mirrors. We have had success with these from Amazon. If you find other ones that work for you, please let us know!
- Scissors
- Glue stick
- A printout of the isosceles triangle template we created. Make sure to print in “Actual size”, not fit to paper.
- Cardboard for making paper polyhedra. We had success with 65 lb paper and 70 lb paper for the smaller and larger polyhedra, respectively
- Stencil for making paper polyhedra
1. Cut mirror squares per instructions for a triangular prism with no bottom, replacing the isosceles triangle template for the rectangle one. After cutting out a square, cut it along the diagonal line to make two isosceles triangles.
2. Build a paper tetrahedron using this stencil.
3. Have fun experimenting by placing various objects inside the kaleidoscope.